


|
|
 |
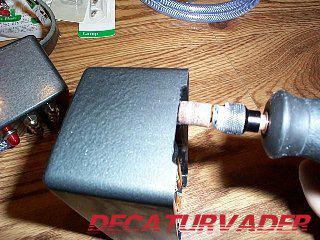 | Here you can see where a Dremil Tool comes in handy.
I notched out the opening for my belt
to pass through. |
 |
Notice how the box and back lid are notched
to give the complete wrap-around effect. |
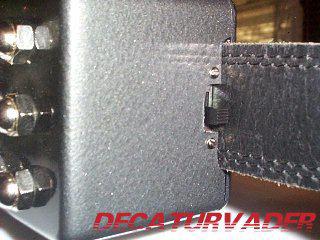 |
The completed seam in its closed position.
The same technique was applied
when I added the off/on switch. |
 |
Here you see the lamp fixtures
(# 272-1176 Radio Shack)
without their bases & lenses.
The two of them supply light for the
Green fixtures where as a complete lamp base fixture
with red lense is used for the red lamp effect.
|
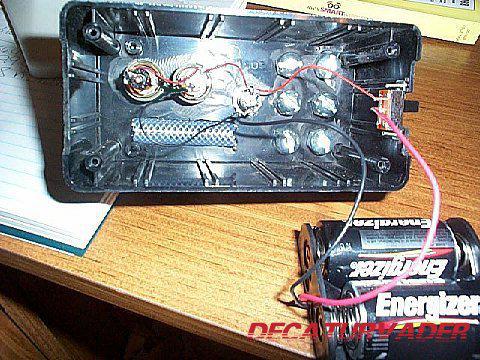 |
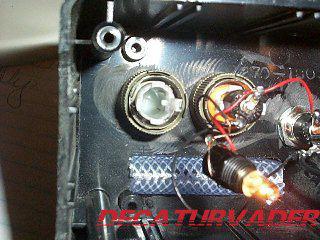
| Wiring is pretty straight forward. Positive's to Positives..Neg's to Neg's. I placed the switch in series with the Positive lead. Also to be noted, notice how I notched out channels, sliced a piece of hose down the center and "wrapped" the nylon plumbing hose completely through. That prevented me from having to trust a glue to secure the hose to my box. Lastly, for an original effect if desired, a lamp could be placed behind the hose. Since it is transparent, it luminates the hose perfectly! Gives it the fiber optic look. |
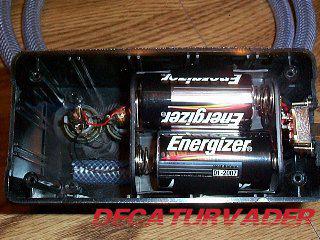 |
| The completed interior. The "C" Cell holder fits snuggly in place. |
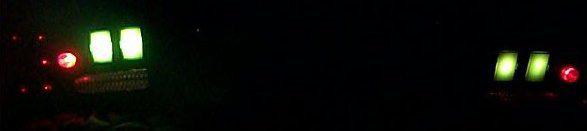
Lastly, the Green Light Fixtures. These were not found at any local hardware shop. I stumbled into these items on some dead machinery. They could possibly be located if one was apt to search for them.Click here to view a Hi-Res image of my Green Light Fixtures. All Part numbers and manufacturer info is seen here. The LED's supplied with the fixtures are excellent....the only problem is, they are 24V. I just gutted the assembly and snapped the Radio Shack lamps in.
|
|
This site is in no way
sponsored or endorsed by: George Lucas, Lucasfilm Ltd., LucasArts Entertainment Co., or
any affiliates. All copyrights ©, registered trademarks ®, trademarks (TM), or service
mark (SM) used belong to their respective owners.
Copyright 2001- 2005 CG Designs LTD.
|
|
|
|